

Can You Freeze Red Velvet Cake With Frosting
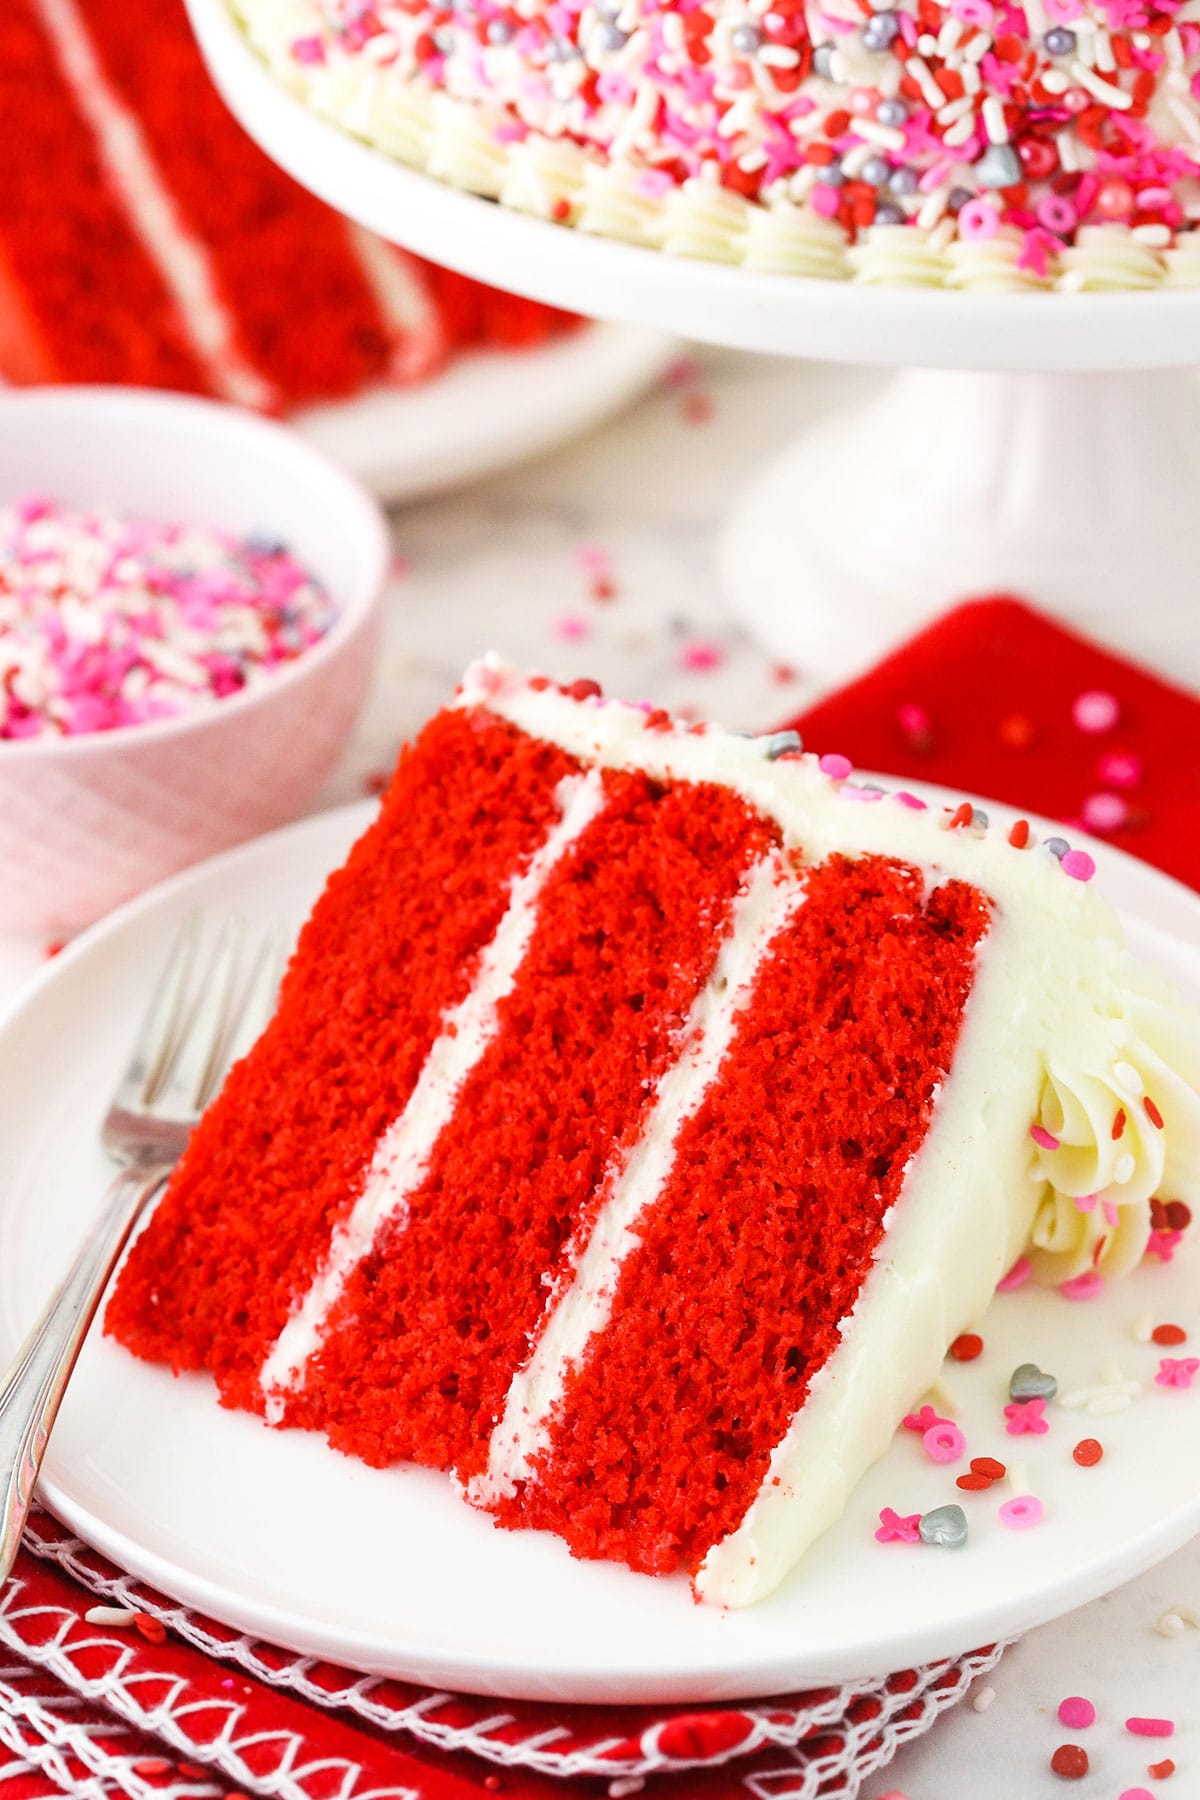
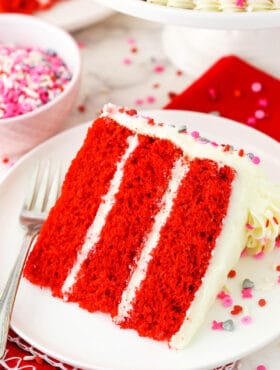
This moist and tangy homemade Red Velvet Cake is layered with a fluffy foam cheese frosting for a classic dessert that you'll bask every bite of. Information technology'south super piece of cake to prepare and it makes a wonderful care for for birthdays, Valentine'due south Day or any other festive occasion!
Care for Yourself to the Best Homemade Red Velvet Cake
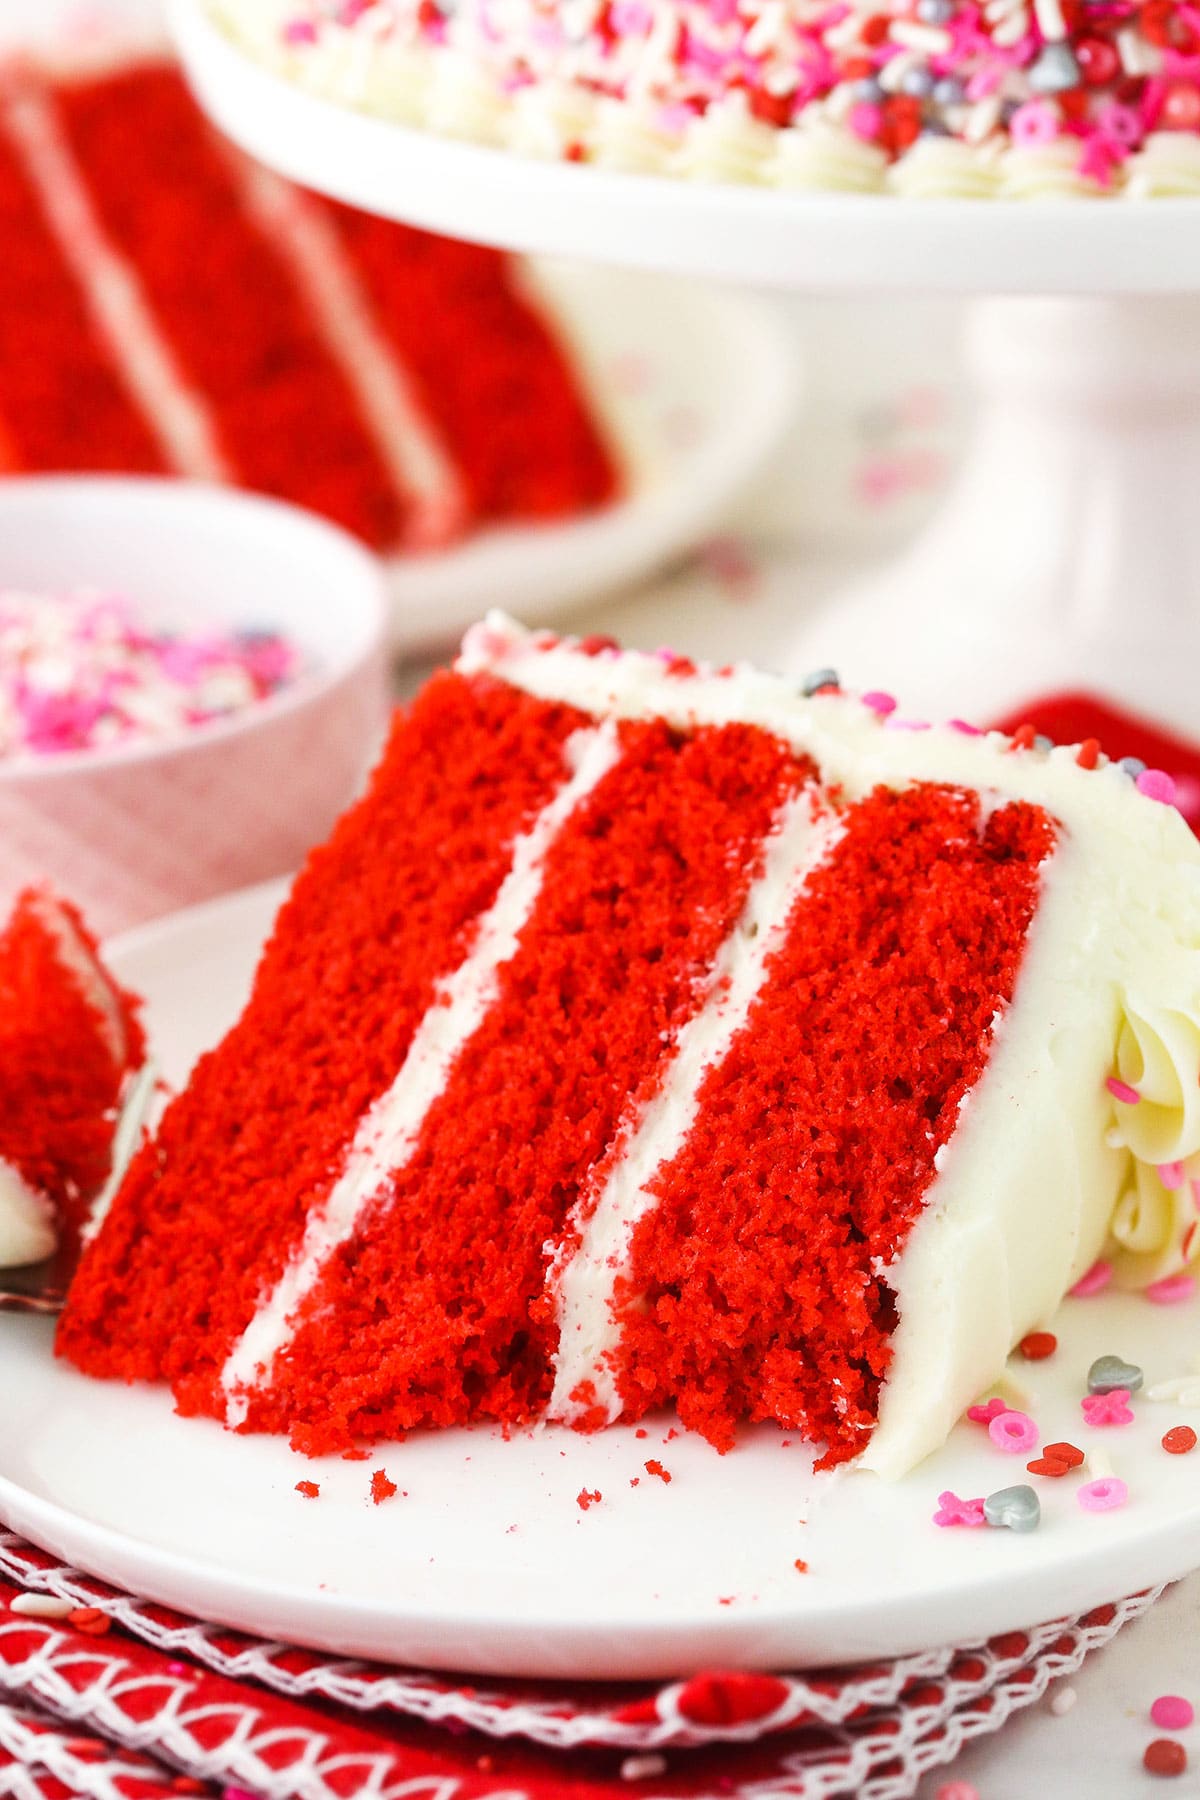
This glorious cherry velvet layer block has a moist, tender texture and just the right corporeality of tang to go along yous coming back for more. The cream cheese frosting is spread betwixt each layer likewise every bit on top to give you the perfect ratio of cake to buttercream in every bite! The sides of the cake are covered in your favorite sprinkles to complete the look.
My original recipe for this cake was oil-based, just I've since changed it to a butter-based cake, as not everyone loves using lots of oil. Plus, when working on new recipes, I arrived at this version by take a chance and savage in love with it. It's light and lovely and I know you lot'll love information technology besides. Even people who don't dearest red velvet will want to sneak seconds of this block. I about devoured the whole thing on my own final time I made it!
What is Carmine Velvet Cake?
A lot of people think that red velvet cake is only chocolate cake with red food coloring, only that'southward simply non the case. While red velvet cake does indeed use some cocoa powder, it also includes buttermilk and vinegar to give it a noticeable tang, which is the trademark of red velvet flavor. When those ingredients react with the batter, they naturally produce a reddish tint – the food coloring is there to heighten that.
Recipe Ingredients
Let's go over the ingredients you'll demand for the cake and the buttercream frosting. Everything can easily be establish at the grocery shop or created with ingredients you lot already take on hand.
For the Red Velvet Cake
- All-Purpose Flour: Employ a nutrient scale to measure out your flour in social club to ensure accurateness.
- Cocoa Powder: Natural and unsweetened.
- Baking Powder & Blistering Soda: To aid the cake rise. The combination is the two creates the ultimate soft texture.
- Common salt: For flavor.
- Unsalted Butter: Bring your butter to room temperature before making this cake.
- Vegetable Oil: This works with the butter to give your cake the most amazing soft and fluffy texture and ideal moisture.
- Carbohydrate
- Vanilla Extract
- Large Eggs
- Buttermilk: I use powder buttermilk, for convenience. You can likewise brand this yourself in a pinch by combining a cup of milk with a tablespoon of lemon juice or white vinegar. If you do this, re-mensurate the buttermilk after you arrive since you only need ane cup.
- White Vinegar: It's important to use both buttermilk and vinegar in this block – otherwise, it'll miss the mark on red velvet flavour.
- Red Food Coloring: I utilize regular food coloring, but gel icing colour would work also.
For the Cream Cheese Frosting
- Cream Cheese: Brought to room temperature.
- Butter: Room temperature.
- Powdered Sugar
- Vanilla Extract
- Sprinkles: I absolutely adore the sprinkles made by Sweetapolita. They are so unique and beautiful! The ones on this cake though are from Abode Goods.
How to Make Cherry Velvet Cake From Scratch
I like to split my cake batter into three viii-inch pans, but you can make a two-layer cake with ix-inch pans if yous'd prefer. The amount of frosting needed for the block should remain the aforementioned.
Make the Cake
- Prep for Blistering: Prepare three 8-inch cake pans with parchment paper circles in the bottom and grease the sides. Preheat the oven to 350°F.
- Combine Dry out Ingredients: Combine the flour, cocoa, baking powder, baking soda and table salt in a medium-sized bowl and set the mixture aside.
- Beat Butter, Oil, Sugar & Vanilla: Add together the butter, vegetable oil, sugar and vanilla extract to a big mixer bowl and beat until the mixture is lite in color and fluffy, about 2-three minutes. Do non skimp on the creaming fourth dimension.
- Add Eggs: Add the eggs two at a fourth dimension, mixing until well combined after each add-on. Scrape downwards the sides of the basin as needed to be sure all of the ingredients are well incorporated.
- Start Calculation Dry out Ingredients: Add half of the dry out ingredients to the batter and mix until combined.
- Add Buttermilk, Vinegar & Nutrient Coloring: Add the buttermilk, vinegar and nutrient coloring and mix until well combined.
- Cease Adding Dry out Ingredients: Add the remaining dry ingredients and mix until the batter is well combined and smooth. Scrape downward the sides of the bowl equally needed to be sure all of the ingredients are well incorporated. Practice non over-mix the batter.
- Bake: Split the batter evenly between the 3 pans and bake the block for 20-25 minutes, or until a toothpick inserted into the center comes out make clean.
- Let Cool: Remove the cake layers from the oven and allow them to rest in the pans for almost 2-3 minutes, so transfer them to cooling racks to cool completely.
Brand the Frosting
- Beat Cream Cheese & Butter: Add the cream cheese and butter to a large mixer bowl and beat until well combined and smooth.
- Outset Adding Powdered Sugar: Add about half of the powdered sugar and mix until well combined and smooth.
- Add Vanilla: Add the vanilla extract and mix until well combined.
- Stop Adding Powdered Sugar: Add the remaining powdered saccharide and mix until the frosting is well combined and smooth.
Build the Cake
- Remove Cake Domes: If needed, utilise a large serrated knife to remove the domes from the acme of the cake layers so that they're flat.
- Frost Initial Layer: Place the first block layer on a serving plate or a cardboard cake round. Spread about 1 cup of frosting evenly on top of the cake.
- Finish Layering: Add the 2nd layer of cake and another cup of frosting, followed past the final cake layer.
- Frost Outside: Cease spreading buttercream onto the top and outside of the cake.
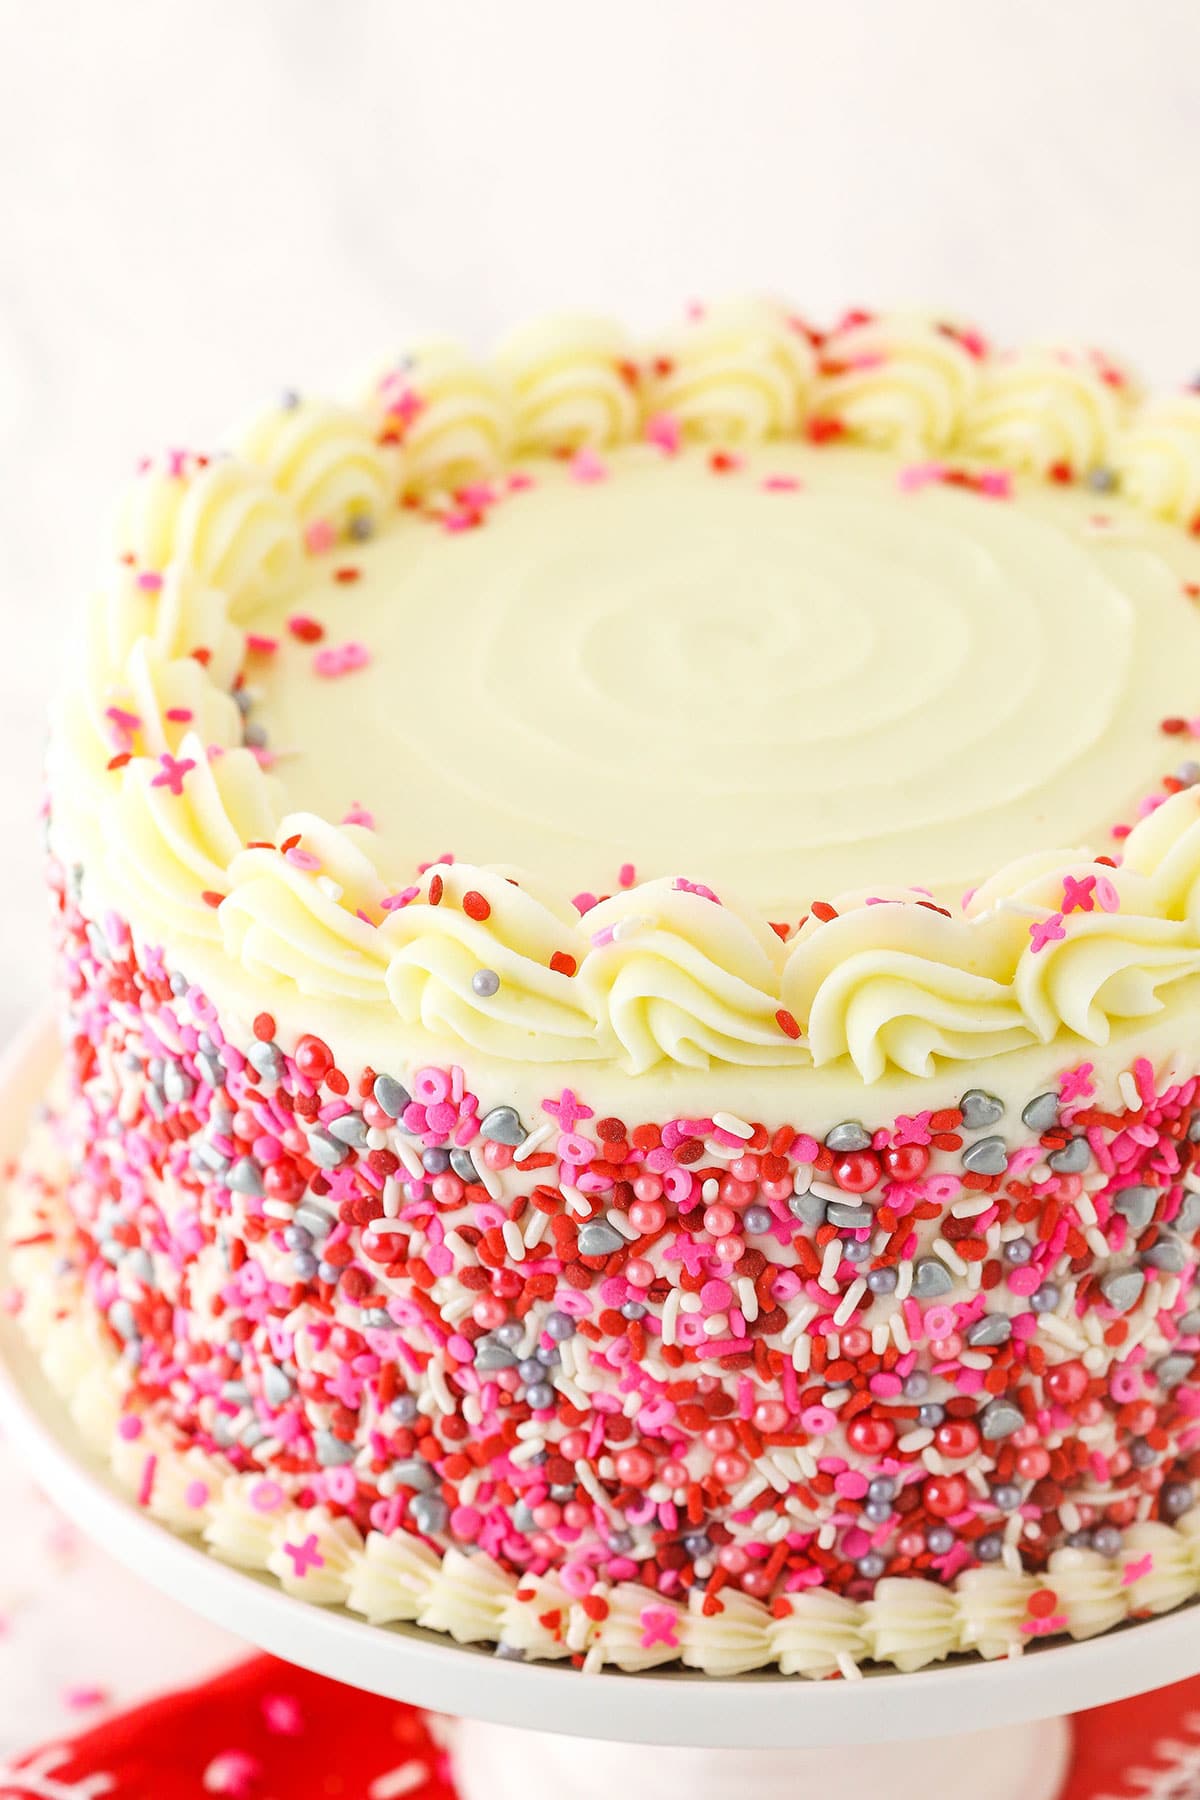
- Decorate: Press sprinkles into the sides of the cake, and so pipe shells of frosting effectually the tiptop edge of the cake and the bottom. Add additional sprinkles on elevation if desired.

Tips for Success
I accept a few trivial tricks up my sleeve when it comes to homemade scarlet velvet cake. Here they are!
- Measure out the Flour Accurately: If you don't have a food scale you can use to measure out the flour, fluff it upward and spoon it into the measuring cup rather than scooping it upwards direct. In one case your measuring cup is overflowing, level it off with a butter pocketknife. This prevents the flour from getting packed in.
- Employ Room Temperature Ingredients: Make sure you allow your ingredients come up to room temperature whenever indicated. Otherwise, you'll have a difficult fourth dimension combining them into the cake batter or the frosting.
- Conform the Corporeality of Cocoa Powder to Your Liking: I prefer using two teaspoons of cocoa powder for a tangier ruby velvet cake, only if you want to sense of taste more than of that rich chocolate flavor, y'all can add up to iv teaspoons of cocoa pulverisation. Just keep in mind that using more will darken the color of your block.
- Finesse Your Frosting Skills: Frosting cakes can be a claiming if you don't accept much feel. Refer to my Tips and Tricks for Frosting a Smooth Block if you lot'd like to refine your skills.
Variation Ideas
Feel gratuitous to put your ain spin on this archetype layer cake if you lot're in the mood to switch things up. Try one of the tempting variations beneath!
- Use Chocolate Frosting: This cake would be just equally tasty with chocolate buttercream in place of the foam cheese frosting. Peculiarly if you follow this recipe!
- Make Red Velvet Cheesecake Cake: You seriously have to endeavor this indulgent homemade Cherry-red Velvet Cheesecake Cake! A flossy vanilla cheesecake filling is blimp between ii layers of this moist and fluffy cake.

Storage Instructions
Considering of all the cream cheese in the frosting, this cake should be refrigerated in an airtight container. It will stay fresh for up to 3 days – but I take a hunch that it'll get gobbled up sooner!
Does This Cake Freeze Well?
The red velvet cake layers on their own freeze well. To freeze your cake layers, wrap each i tightly in plastic wrap and freeze them in an closed container or freezer handbag for upwards to three months. Thaw them out in the fridge before building the cake.
If you lot'd like, you can find the original Red Velvet Block Recipe here.
Recipe
The All-time Cherry Velvet Cake Recipe
- Prep Time: 1 60 minutes thirty minutes
- Melt Time: 20 minutes
- Total Time: 1 hour 50 minutes
- Yield: 14
- Category: Dessert
- Method: Oven
- Cuisine: American
Clarification
This moist and tangy homemade Red Velvet Cake is layered with a fluffy cream cheese frosting for a classic dessert that you'll savor every bite of. Information technology's super piece of cake to prepare and it makes a wonderful care for for birthdays, Valentine's Day or whatsoever other festive occasion!
Ingredients
For the Cherry Velvet Cake
- ii ane/4 cups (293g) all-purpose flour
- 2–iv tsp natural unsweetened cocoa powder
- 2 one/2 tsp blistering powder
- one/four tsp baking soda
- one/2 tsp salt
- one/2 cup (112g) unsalted butter, room temperature
- one/2 loving cup vegetable oil
- 1 1/2 cups (310g) sugar
- 2 tsp vanilla extract
- 4 big eggs
- 1 cup (240ml) buttermilk
- 2 tsp white vinegar
- 4 tsp red food coloring
For the Cream Cheese Frosting
- sixteen oz (452g) cream cheese, room temperature
- 3/4 cup (172g) butter, room temperature
- x cups (1150g) powdered sugar
- 2 tsp vanilla extract
- Sprinkles
Instructions
Brand the Cake
- Prepare three 8 inch block pans with parchment paper circles in the lesser and grease the sides. Preheat oven to 350°F (176°C).
- Combine the flour, cocoa, blistering pulverisation, baking soda and table salt in a medium-sized bowl and set aside.
- Add the butter, vegetable oil, sugar and vanilla extract to a large mixer bowl and beat together until light in colour and fluffy, virtually ii-3 minutes. Do not skimp on the creaming time.
- Add together the eggs two at a fourth dimension, mixing until well combined later each. Scrape down the sides of the bowl equally needed to be certain all ingredients are well incorporated.
- Add half of the dry ingredients to the batter and mix until combined.
- Add the buttermilk, vinegar and food coloring and mix until well combined.
- Add the remaining dry ingredients and mix until well combined and smooth. Scrape down the sides of the bowl equally needed to exist sure all ingredients are well incorporated. Do not over mix the concoction.
- Split the batter evenly between the three pans and bake for 20-25 minutes, or until a toothpick inserted comes out make clean.
- Remove the cakes from the oven and let to cool for almost ii-three minutes, then transfer to cooling racks to cool completely.
Make the Frosting
- Add the cream cheese and butter to a large mixer bowl and trounce until well combined and smoothen.
- Add virtually one-half of the powdered carbohydrate and mix until well combined and smooth.
- Add the vanilla extract and mix until well combined.
- Add the remaining powdered sugar and mix until well combined and smoothen.
Build the Cake
- Use a large serrated knife to remove the domes from the top of the cakes so that they're flat, if needed.
- Place the kickoff block on a serving plate or a cardboard block circular.
- Spread about 1 cup of frosting evenly on summit of the cake,
- Add together the second layer of cake and another cup of frosting.
- Pinnacle the cake with the remaining layer and frost the outside of the block. Refer to my tutorial for frosting a smooth block, if needed.
- Press sprinkles into the sides of the cake, then pipe shells of frosting around the superlative edge of the cake and the bottom. Add together additional sprinkles, if desired.
Notes
- Makes 12-fourteen slices.
- To Shop: Refrigerate cake in an airtight container for up to three days.
- To Freeze: Wrap each cake layer tightly in plastic wrap and freeze in an airtight container for up to 3 months. Thaw on the counter earlier building cake. Freezing frosting is not recommended.
Nutrition
- Serving Size: 1 Piece
- Calories: 853
- Sugar: 107.vi g
- Sodium: 252.3 mg
- Fat: 37.vi g
- Carbohydrates: 126.ii g
- Protein: 6.half dozen one thousand
- Cholesterol: 131.4 mg
Keywords: ruby velvet cake from scratch, what is red velvet cake, how to make blood-red velvet cake
More Like shooting fish in a barrel Scarlet Velvet Recipes
Can't get plenty red velvet? Today must be your lucky twenty-four hour period! The recipes below are certain to go along y'all satisfied.
Red Velvet Drupe Trifle
Cerise Velvet Ice Cream Cake
Creamy Cherry-red Velvet Cheesecake
This post may contain affiliate sales links. Please read my disclosure policy.

Can You Freeze Red Velvet Cake With Frosting,
Source: https://www.lifeloveandsugar.com/red-velvet-layer-cake/
Posted by: swingleketter.blogspot.com
0 Response to "Can You Freeze Red Velvet Cake With Frosting"
Post a Comment